How to build a serial cable for Celestron NexStar telescopes.
Preparing the cable
[-]
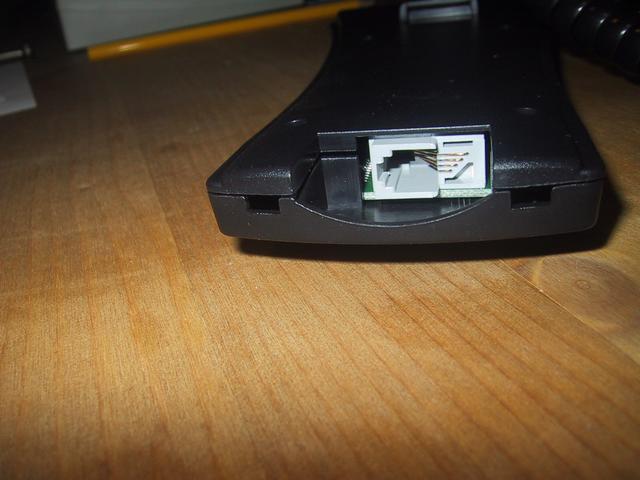
This is the plug you can find at the bottom of the keyboard. Once we connect the computer here, we will be able to send commands and receive the current position of the telescope.

[-]
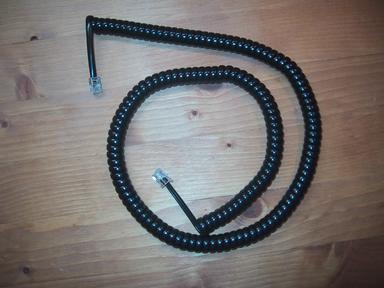
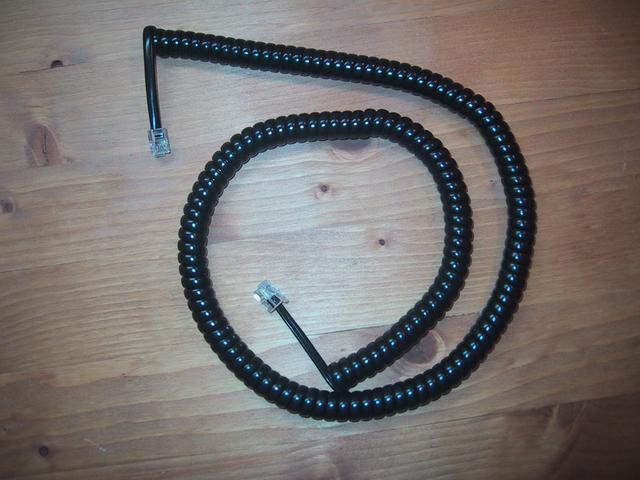
We need a cable, just like the ones used to connect a receiver to the telephone. It has a coiled cable which is useful when you have to move the keyboard or the computer.
[-]
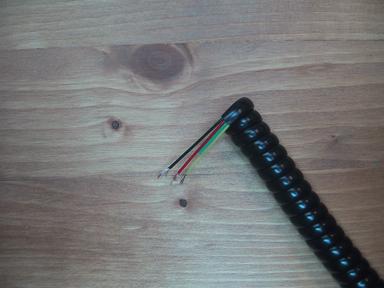
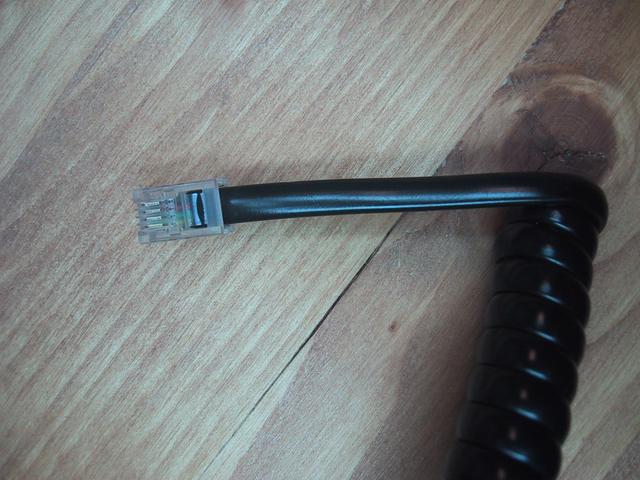
This is the detail of the cable's plug. Note there are 4 connectors each one with a colored wire.

[-]
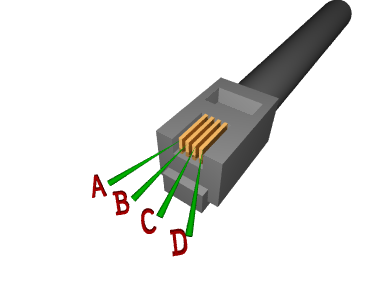
As every cable has different colors, in the following descriptions we will call each wire with a letter, starting with A for the wire at the left, then B, C, D as in the following diagram:

[-]
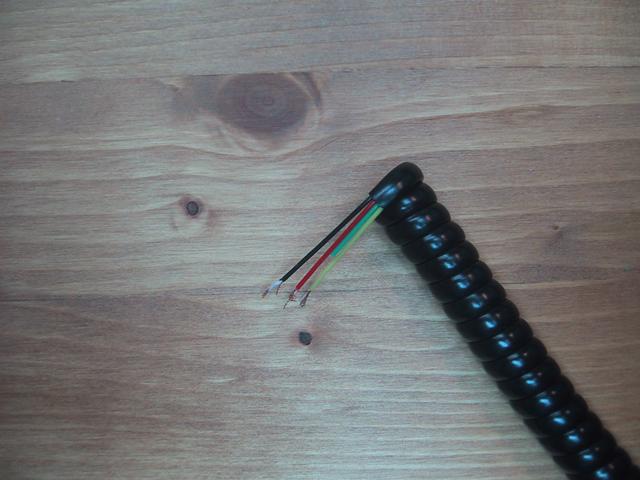
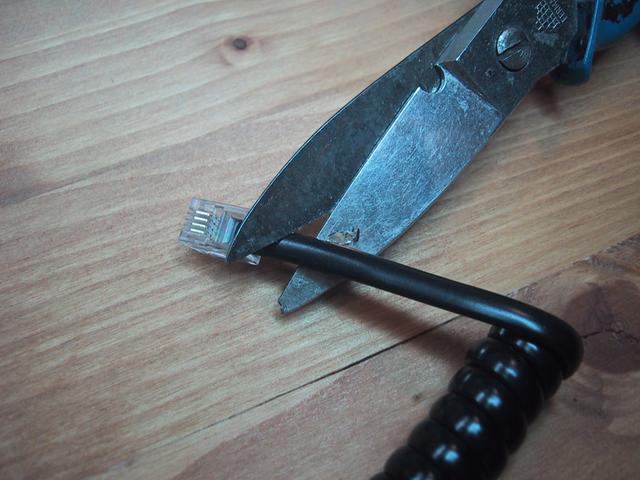
We need to peel the wires in this way. Pay attention, this is a rather difficult process, as those wires are very thin and easy to cut. Note the "B" wire won't be connected so it's cut shorter than the others.